MAS 863: How to Make (Almost) Anything


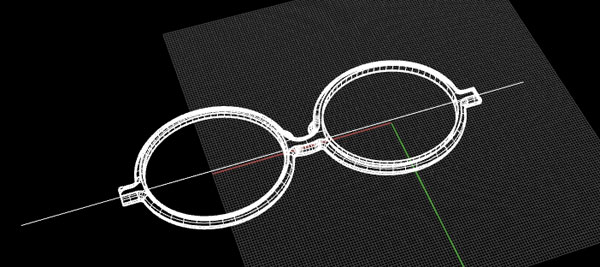
find a biggest section, and divide the model into two parts from the section surface
tips:
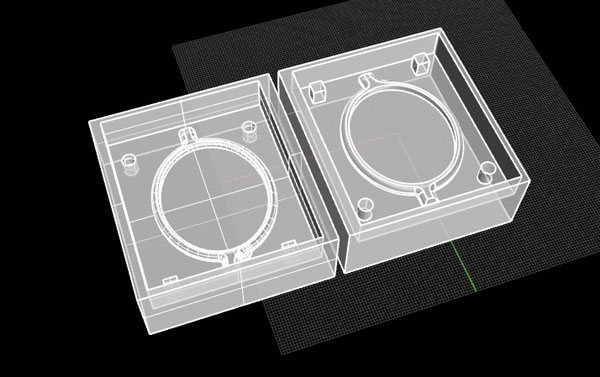
1) make sure you have positive and negative markers for each half of the mode.
2) make sure you have built path for pouring molding materials through
3) normally, don't make too tiny parts for this technique
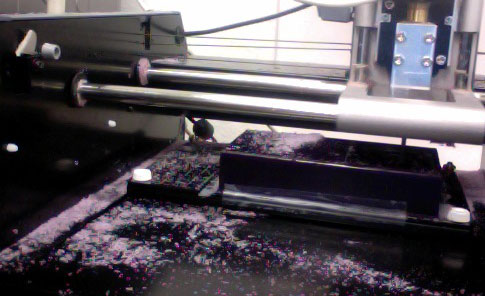
I used Modela for this session and documented it. Normally, Modela has a higher resolution for smaller part.


change to 1 quarter end mill, and select the right unit.
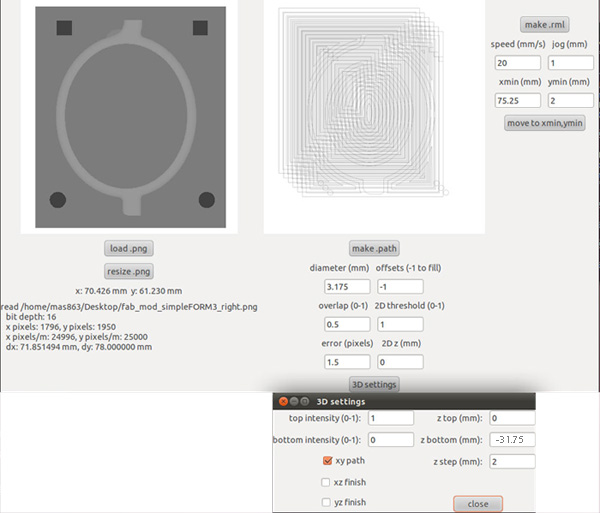
In Fab module, set the parameters as follows for the rough cut:
| diameter | 3.175 |
| offset | -1 |
| overlap | 0.5 |
| speed | 20 (can be faster, like 40) |
| in 3D setting windows: | |
| z top | 0 |
| z bottom | -31.75 (this is the heigh of the stl model) |
| z step | 2 (can be smaller, such as 1.5 for better cut) |
| path | select xy path (depends on which plane did you use for building your model) |
Then use the common way to cut: turn on and off Modela; quit the view mode; move to xmin, ymin; set the Z height by loosing the end mill; make .rml in Modela and send the file!
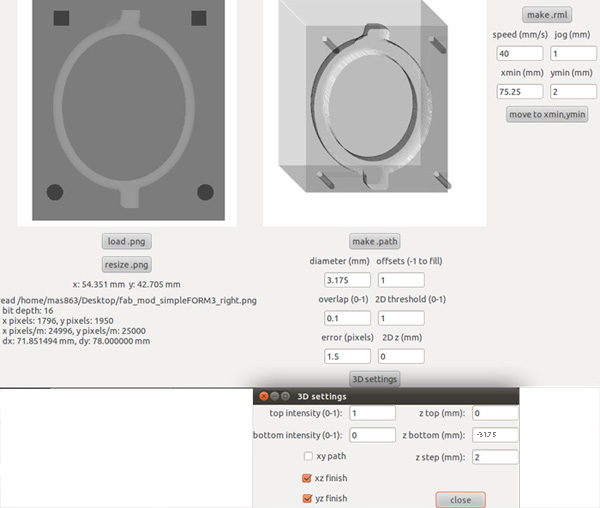
using the setting below to cut again:
| diameter | 3.175 |
| offset | 1 |
| overlap | 0.1 (0.1 means 90% overlapping, the smaller the number, the higher the resolution is) |
| speed | 20 (can be faster, like 40) |
| in 3D setting windows: | |
| z top | 0 |
| z bottom | -31.75 (this is the heigh of the stl model) |
| z step | 2 (can be smaller, such as 1.5 for better cut) |
| path | select xz path and yz path |
tips:
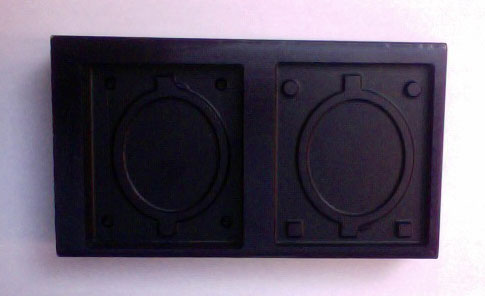
use the former z depth setting to cut.
for final cut, the endmill will go down and fine the surface directly.
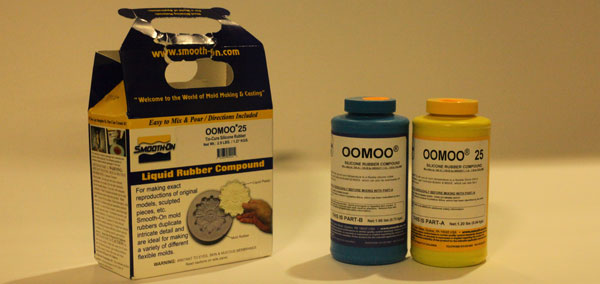
OOMOO 25 from smoonth-on was used. Blend the two parts from two bottles together and pour it into the wax mold. Wait for 4 hours, and the negative silicon mold is ready to use.
tips:
1) when we try to convert negative mold to positive, or positive to negative, it is always from rigid material to elastic, or elastic to rigid.

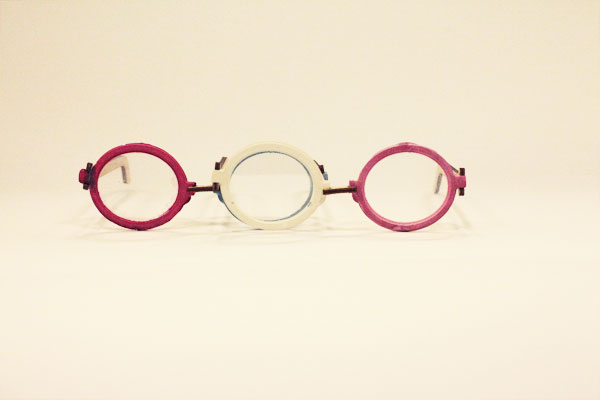
hydrostone and dryston were used for the final form for this week. Dryston takes 30 mintues to dry, with more plastic look; Hydroston takes about a day to dry, with more stone look. Hydroston is stronger.
Blend the drystone with water, with the ration of 5 :1.
tips:
1) slow and be patient.
2) clam it.
Download:
Rhino eyeglass frame
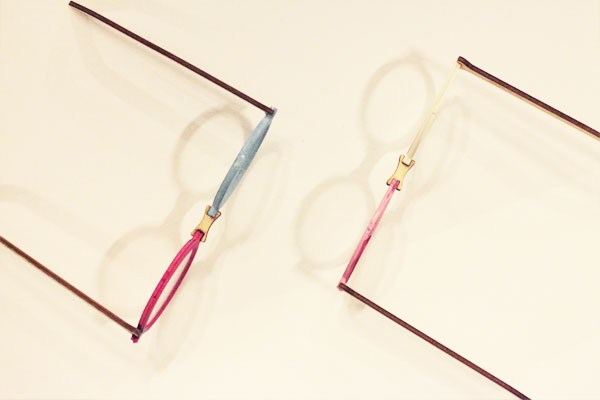
Eyeglass legs